DIY Terra-Cotta Pots with Succulents
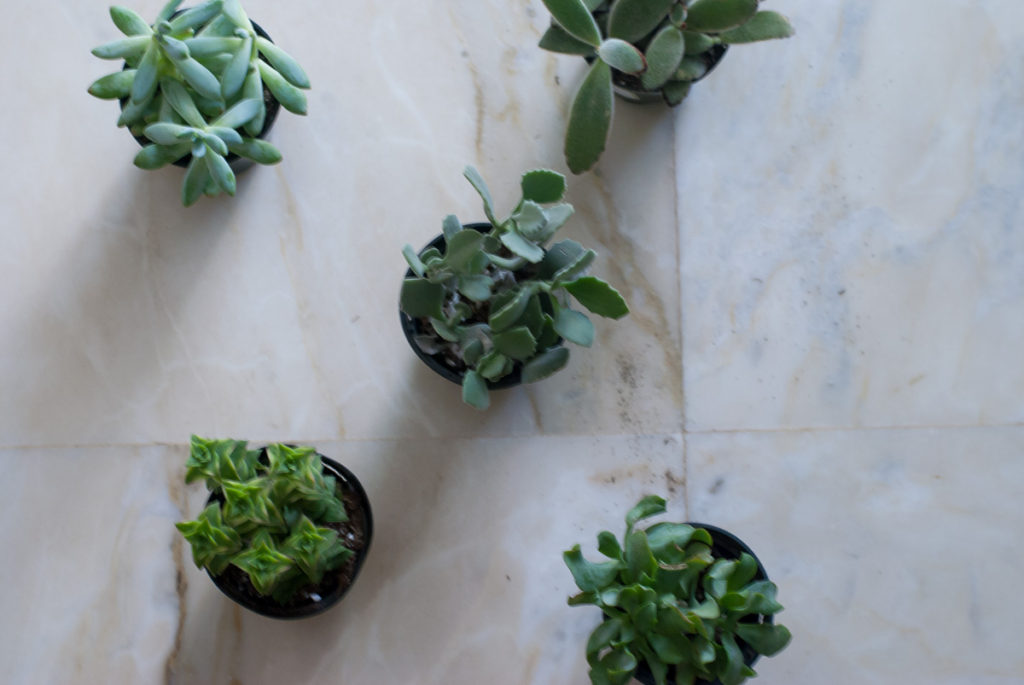
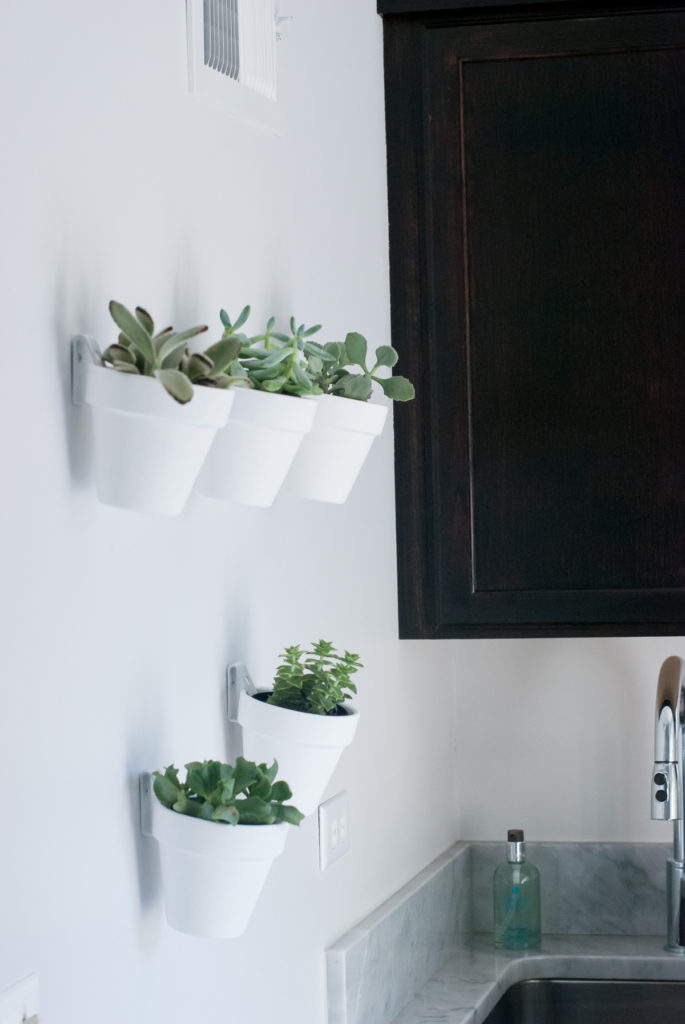
I still have a love affair with succulents! Never did I think I would be able to have green plants in my home as “green thumb” hardly applies to me! Yet I have learned that succulents are so easy to care for and I am always looking for ways to incorporate them inside my home! We recently re-did our mudroom and I thought adding succulents to this space would be a nice way to brighten up the room. Our mud-room is the first room we walk into every time we enter our home. I want to feel good walking into it despite the collection of laundry, shoes and backpacks that accumulate there! We have a blank wall that definitely needed something so I thought adding succulent arrangements to it would be a nice touch! I got to work putting together a simple DIY Terra-Cotta Pots project.
I loved how it turned out so I wanted to bring it to the blog!
SUPPLIES
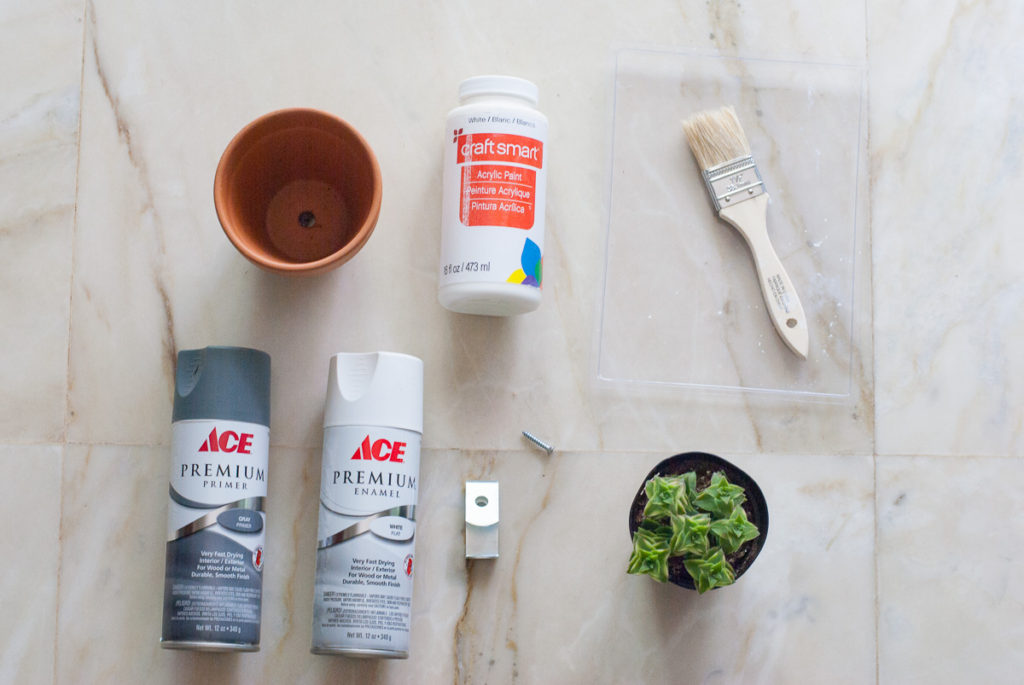 The supplies for this project were simple and inexpensive! I was able to find all of them at my local craft and Home Depot store with the exception of the potting clips. Those I had to order on Amazon here. Yet if you do not feel like heading out to get the supplies, I have linked them all below:
Succulents or Airplants
STEP ONE-PAINTING POTS
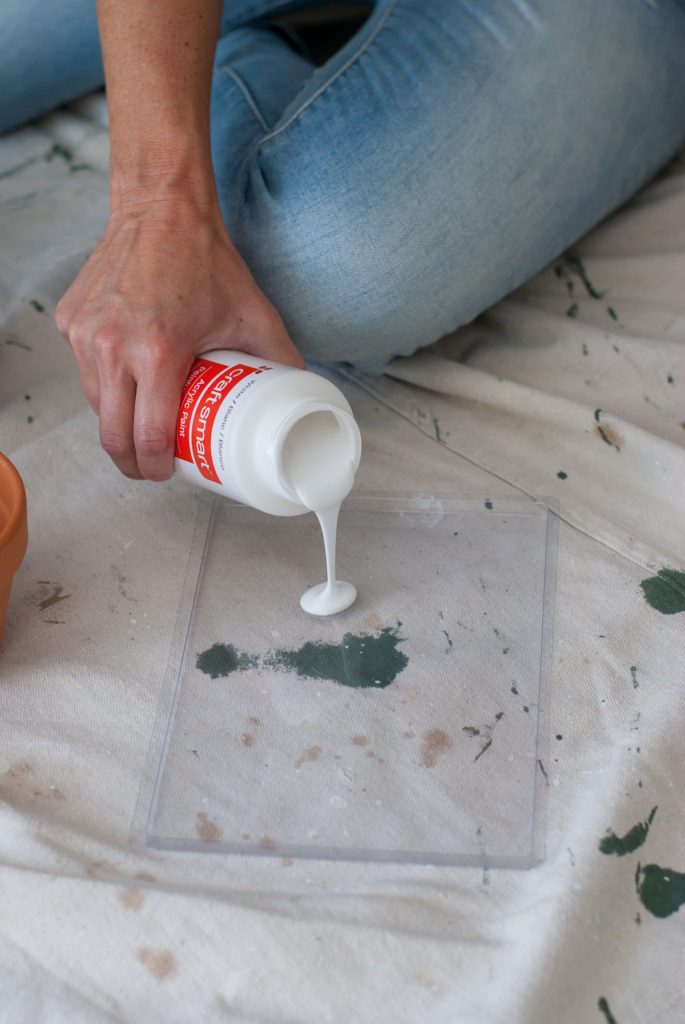
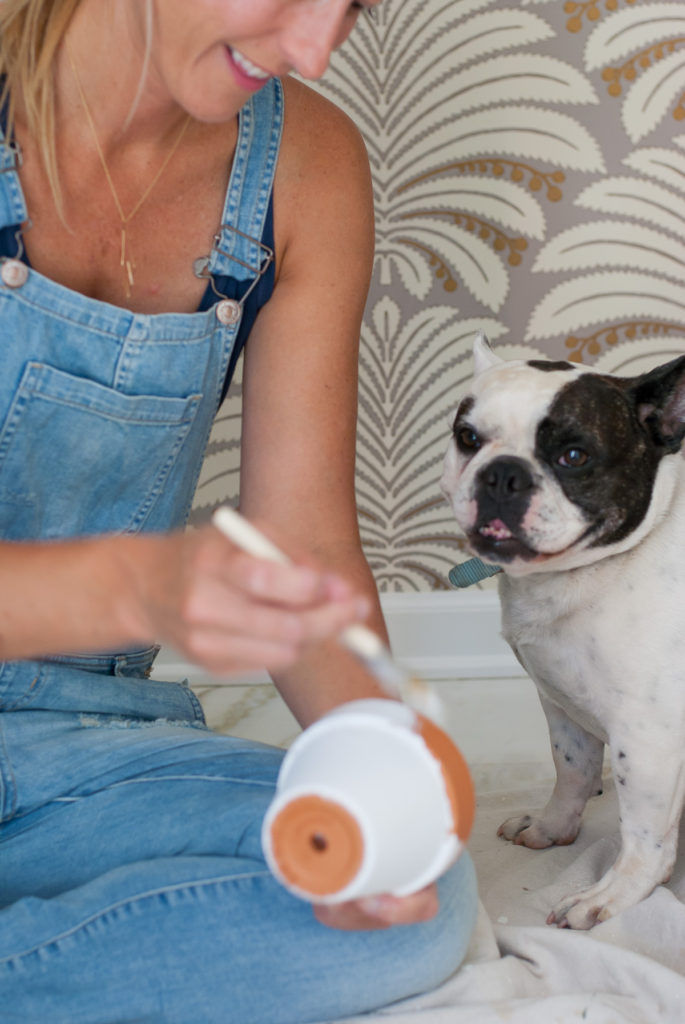
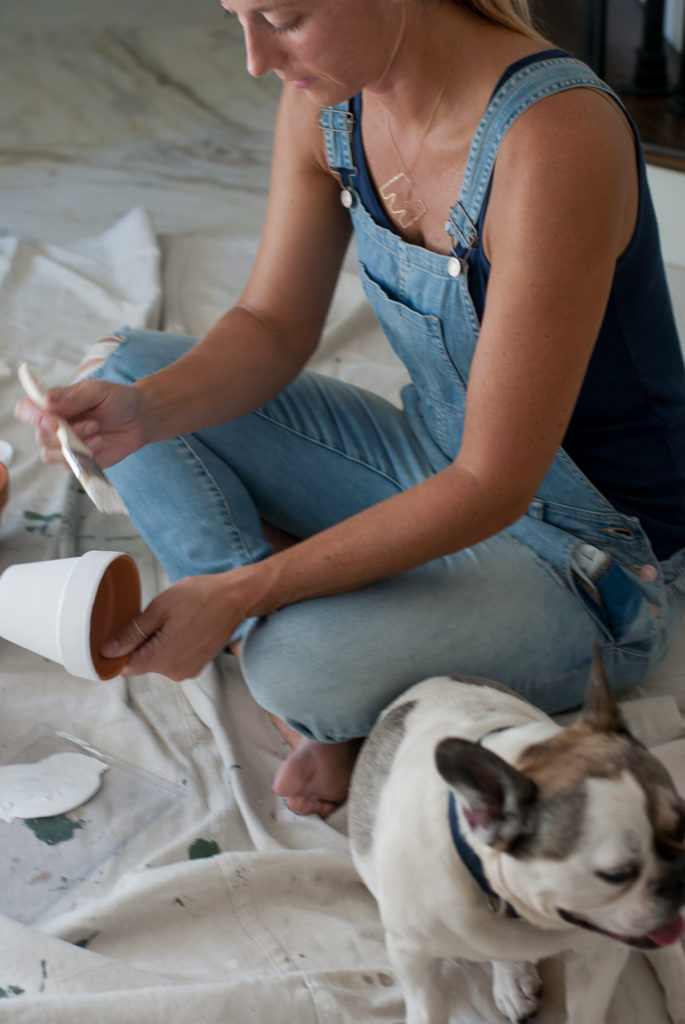
The first step is to paint the terra-cotta pots white. You can obviously leave them as is or paint them another color as well! I bought white acrylic paint with a matte finish and used a 1.5 inch paint brush.
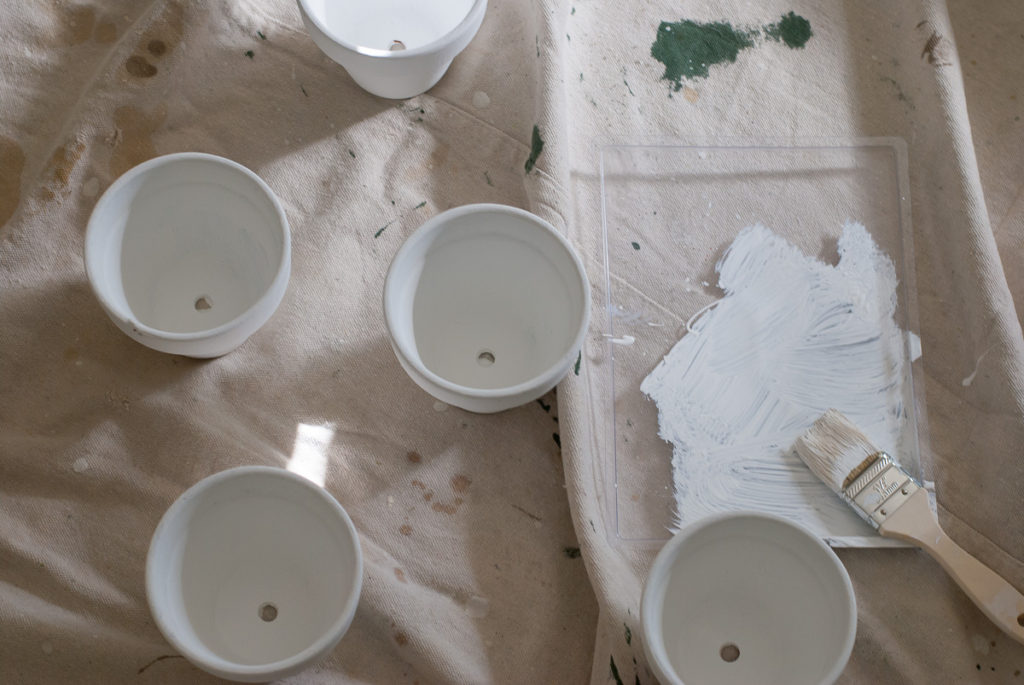
STEP TWO-PREPPING AND SPRAY PAINTING CLIPS
The potting clips come with a metal finish but I wanted them to be monochromatic with the pots and therefore white. Spray painting them white was a two step process. First they need to be primed with gray spray paint. Taking this step outside, I placed newspapers on the grass and hammered the screws into the ground so they were upright. I sprayed them with the primer, let them dry and then proceeded with the white spray paint.
For the clips, I placed them flat on the newspaper and used the same painting process although the clips need to be turned in a few directions (waiting for them to fully dry before each turn) in order to be fully coated.
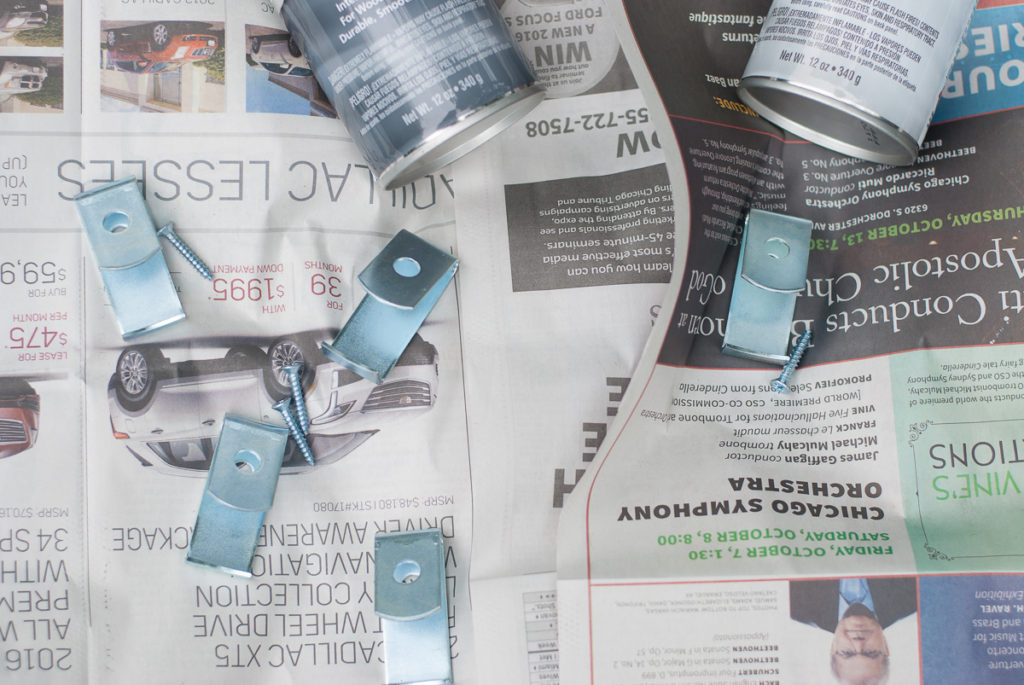

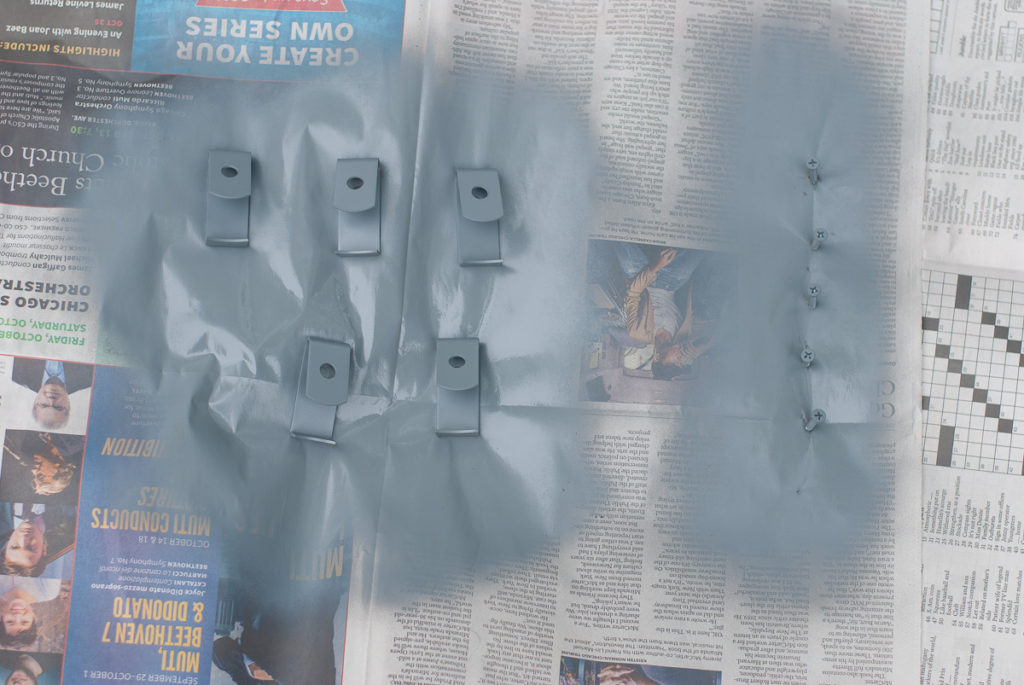
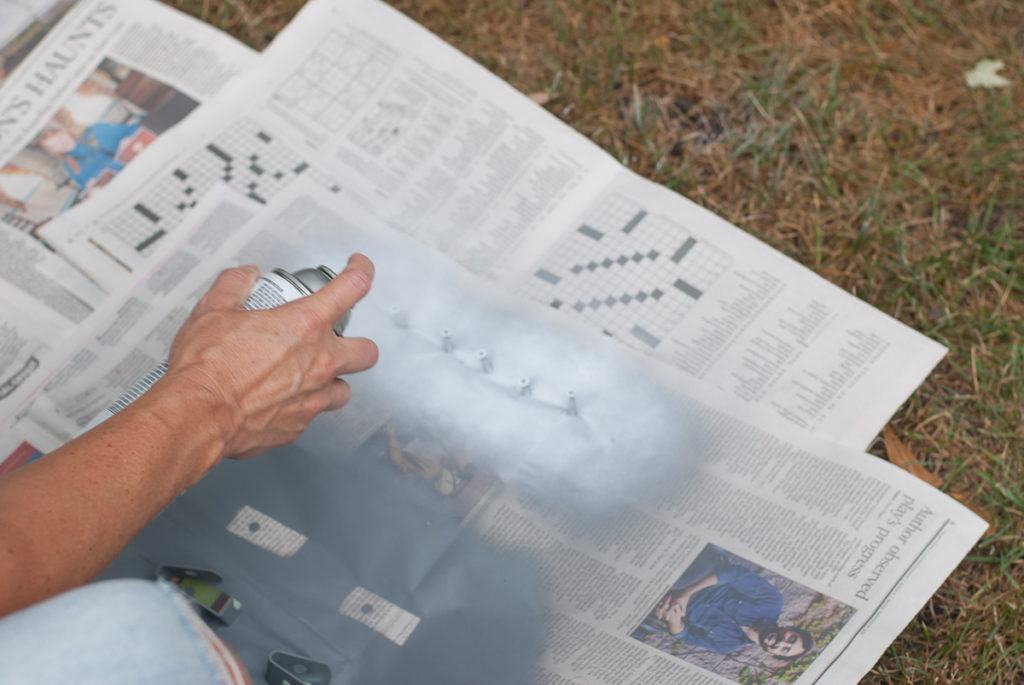
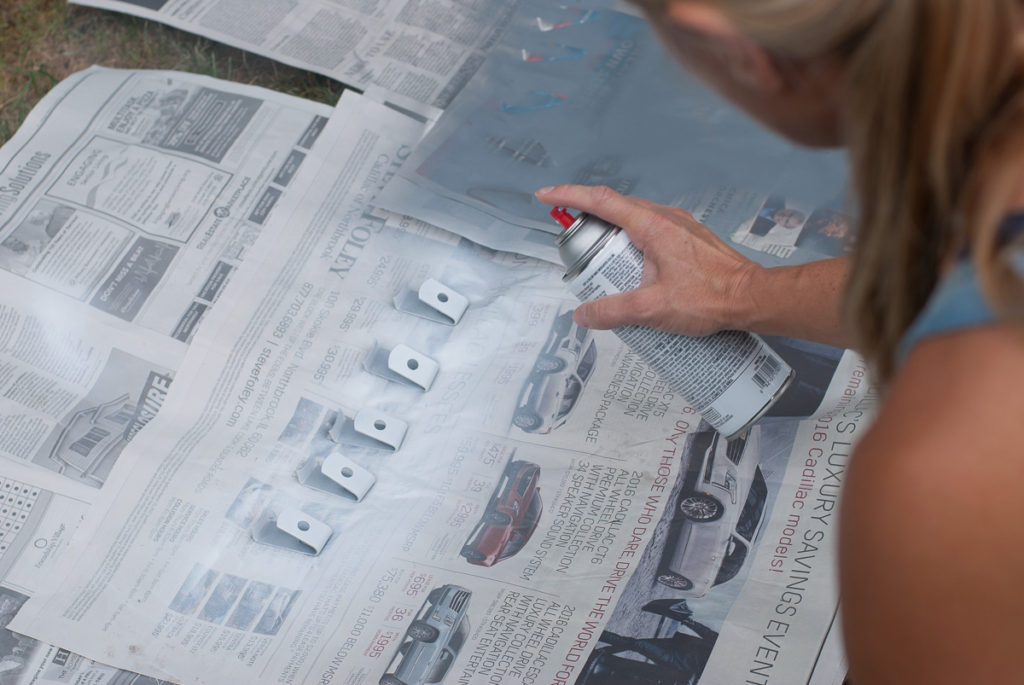
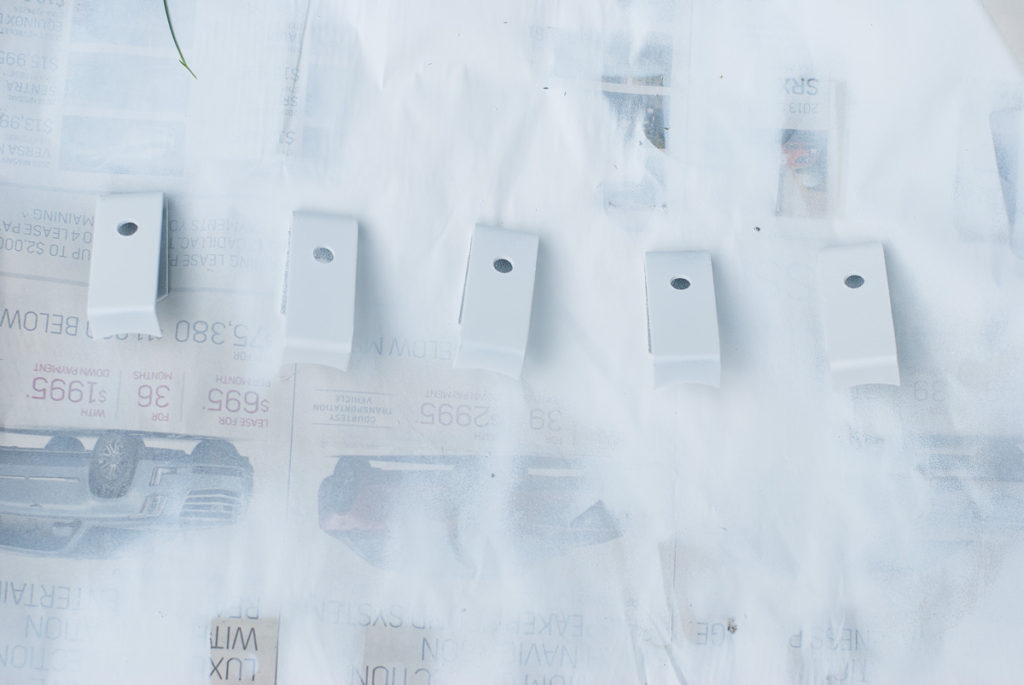 Helpful Hint: When spray painting, hold the can as upright as possible and six inches away from your object. Make a sweeping back and forth motion as you spray without soaking the object. If the object gets too wet, it will stick to the surface and the paint will come off.
STEP THREE-HANGING POTS ON WALL
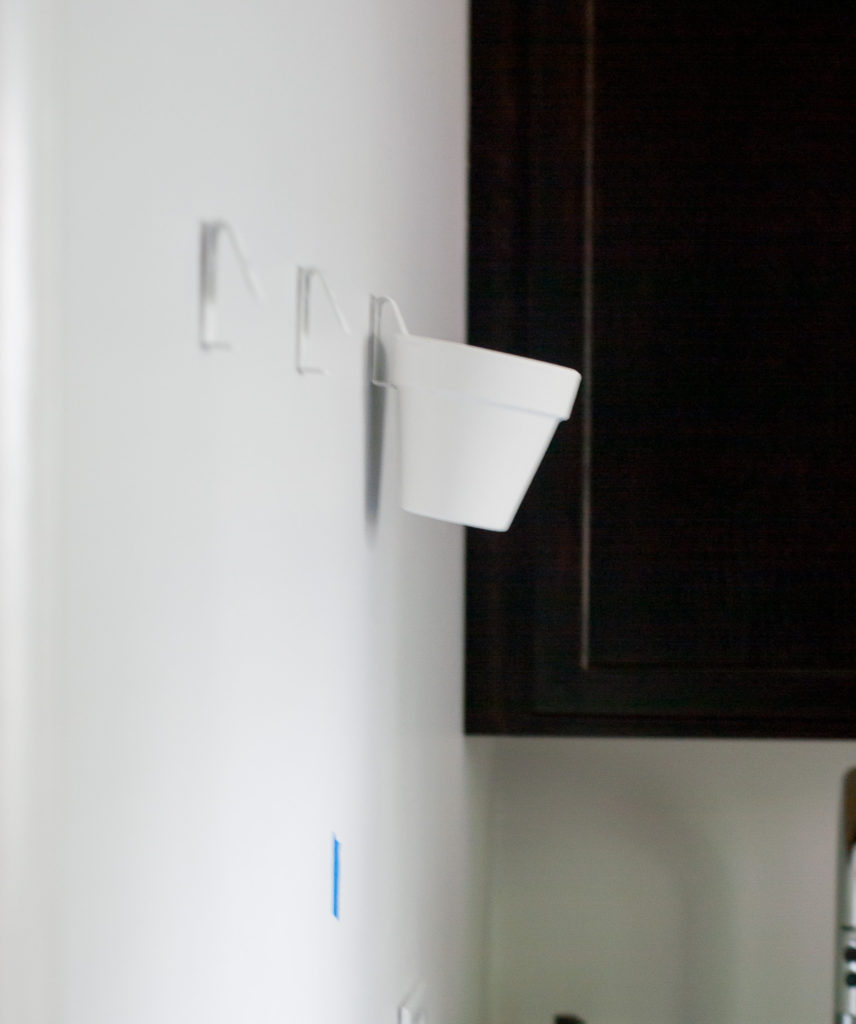
Before the clips and pots are ready to adhere to the wall, plan on where you would like them to hang ahead of time. I used blue painter’s tape to mark where they were going to be and then proceeded drilling the potting clips into the wall (not pictured: my husband helping me with this step!). If they will not be hung in a stud in the dry wall, then you will need to secure anchors in the wall first. Once the potting clips are in, the terra-cotta pots are ready to hang.
The final step is to place your favorite succulents or air plants into the pots. What is nice about these planters is that you can simply drop the succulents into the pot without having to plant them (I used 4.25 inch flower pots and 4 inch container succulents). This makes it so simple to care for them! All you need to do is remove the succulents from the planter, water them, drain them and place the succulents back in the pot!

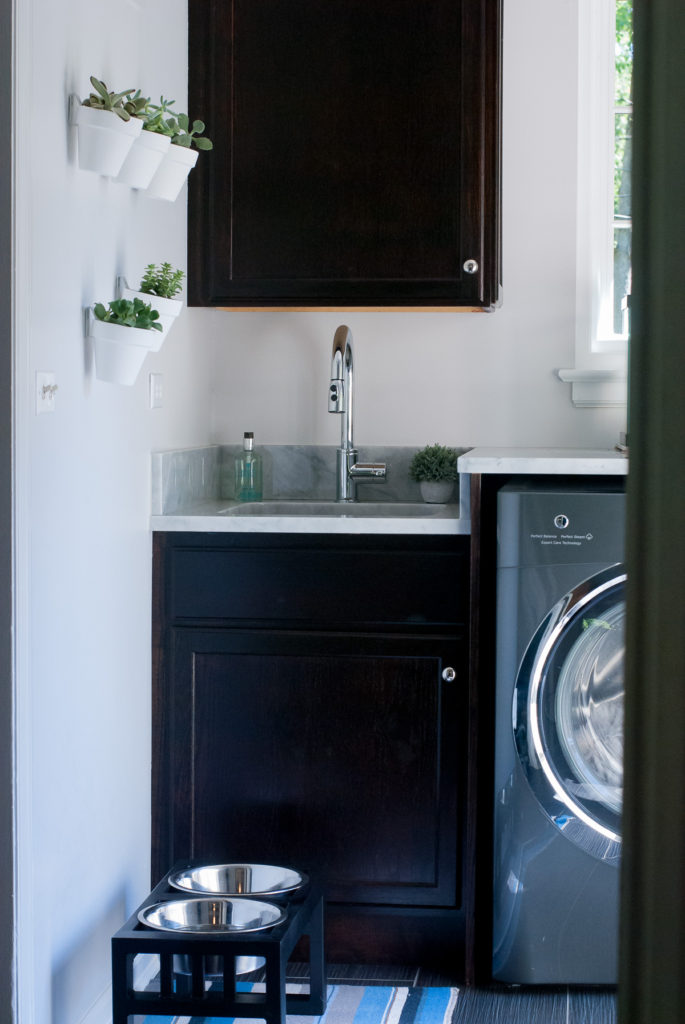
There you have it! If you too plan on doing this DIY project, feel free to email me with any questions!
In the meantime, here are a few tips on taking care of your succulents:
1. Make sure wherever you have them, they get about 6 hours of sunlight a day preferably by an east facing window.
2. Water them so that their soil and roots get completely wet but do not water them again until the soil and roots are completely dry.
3. Succulents can tolerate a range of temperatures but if they are close to a window, the window area should not get above 80 degrees and below 50 degrees!
L, M
