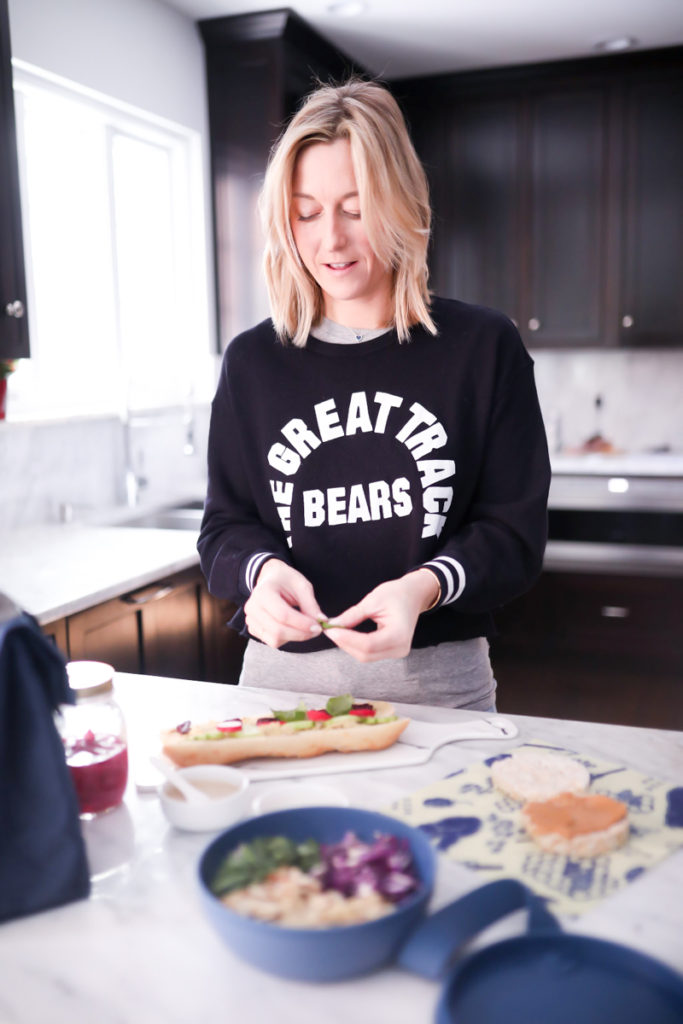
I have one in high school that will not take a packed lunch from home while the other will not have anything but a packed lunch from home. Balance. A constant theme with two teenagers in the house!
I will admit, it is a challenge coming up with creative lunches week to week though. Especially vegetarian ones. So I am constantly on the hunt for new recipes to try and incorporate into the rotation! Luckily Madeline is willing to try just about anything!
And when it comes to preparing her vegetarian lunches, they cannot be too fussy. Simple ingredients that are easy to prep ahead for the week and then can be tossed together the night before or first thing in the morning!
In case you missed my post last week, Five Small Changes You Can Make to Live a More Sustainable Life“, I also will share again what I use for packing up her lunches. Because having the right items on hand make prepping that much faster too!
So halfway into the school year, this is what I am making and how I am packing it up.

Madeline’s Lunches
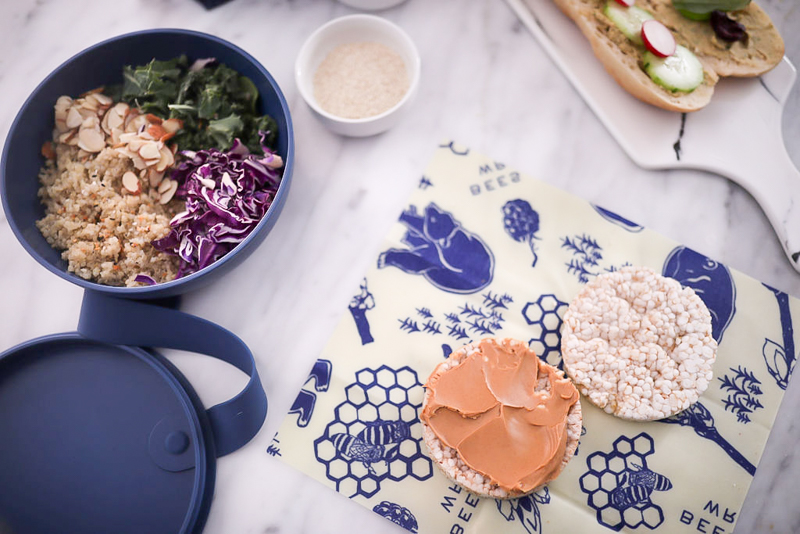
Grain Bowls
Grain bowls alone allow for endless options! There are so many ways to get creative with these! If am really organized for the week, I will make a batch of a grain on Sunday to store in the fridge along with containers of fresh veggies and hard boiled eggs. So easy to toss and throw together with your favorite dressing and topping!
START WITH A BASE
Traditionally a carbohydrate but can can be any type of grain:
- Cous Cous
- Quinoa
- White Rice
- Brown Rice
- Cauliflower Rice
- Soba Noodles
CHOOSE A PROTEIN
The protein is what will fill you up. Some options including non-vegetarian are:
- Beans (garbanzo beans, black beans)
- Shredded Cheese
- Mozzarella
- Grilled Chicken Breast
- Hard Boiled
- Steamed Shrimp
- Salmon
- Ahi Tuna
PILE ON THE VEGETABLES
Options are endless. The more colorful the bowl, the better!
- Sliced Avocado
- Cherry Tomatoes
- Spinach
- Shredded Cabbage
- Chopped Peppers, Carrots, Cucumber or Broccoli
- Edamame
ADD A SAUCE
Adds favor and establishes a theme to your bowl!
- Pesto
- Low Sodium Soy Sauce
- Lime Juice and Olive Oil
- Tzatziki
- Salad Dressing
- Tahini Dressing
FINISH WITH TOPPINGS
The chance to be the most creative and add crunch and additional flavor to your bowl!
- Sesame Seeds
- Shaved Parmesan
- Chia Seeds
- Microgreens
- Slivered Almonds or other Chopped Nut
Homemade Falafel
I made this for the first time the other week and it was delicious. You get a lot out of this recipe too so there is plenty to take you through the week (falafel dipped in tzatziki is a great snack!) I would just adjust olive oil and use two heaping tablespoons versus one. Once the falafel is made, assemble together pita sandwiches with hummus, diced veggies and a drizzle of tahini sauce!
Ingredients
- 1 cup uncooked chickpeas, soaked 24 hours, drained, rinsed, and patted dry*
- ½ cup chopped shallot or yellow onion
- 3 garlic cloves
- 1 teaspoon lemon zest
- 1 teaspoon ground cumin
- One teaspoon ground coriander
- ¾ teaspoon sea salt
- ¼ teaspoon cayenne pepper
- ¼ teaspoon baking powder
- 1 cup chopped fresh cilantro leaves and stems, patted dry
- 1 cup chopped fresh parsley leaves and stems, patted dry
- One tablespoon extra-virgin olive oil, plus more for drizzling
*Canned chickpeas should not be substituted in this recipe or your falafel will turn out mushy.
Instructions
-
Preheat the oven to 400°F and line a large baking sheet with parchment paper.
-
In a large food processor, place the chickpeas (they will be plump but still raw at this point), shallot, garlic, lemon zest, cumin, coriander, salt, cayenne, baking powder, cilantro, parsley, and olive oil. Pulse until well combined but not pureed. Use a spatula to scrape down the sides of the bowl as needed.
-
Use a 2-tablespoon scoop and your hands to form the mixture into 12 to 15 thick patties (be careful not to pack them too tight or your falafel will be dense). If they’re not holding together, give the mixture a few more pulses in the food processor.
-
Place the patties on the baking sheet. Drizzle generously with olive oil (this is the key to making these moist and crisp since we’re not frying) and bake for 14 minutes. Flip and bake for 10 to 12 minutes more or until golden brown and crisp on the outside. During the last few minutes of baking, wrap the pita in foil and warm in the oven.
Source: Love and Lemons
Caprese Sandwich
So easy and always delicious! To accompany a lunch with a sandwich I usually will also add Veggie Straws and an easy fresh fruit like an apple or clementine.
Assembly:
- Mini french bread rolls
- Slices of mozzarella
- Freshly sliced tomato
- Fresh basil leaves
- Drizzle of balsamic glaze
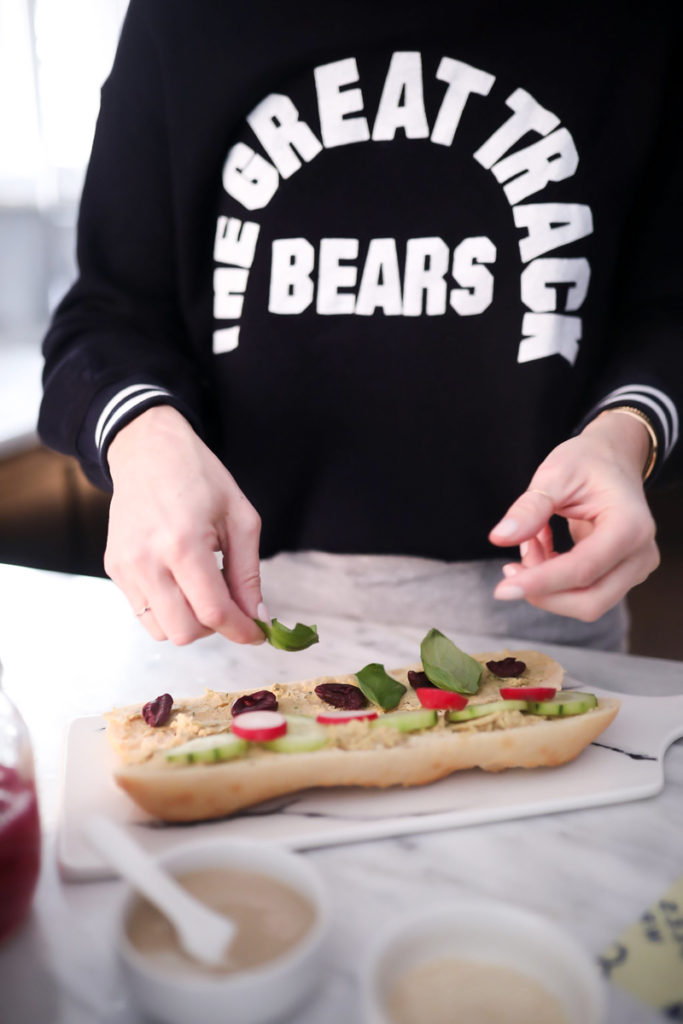
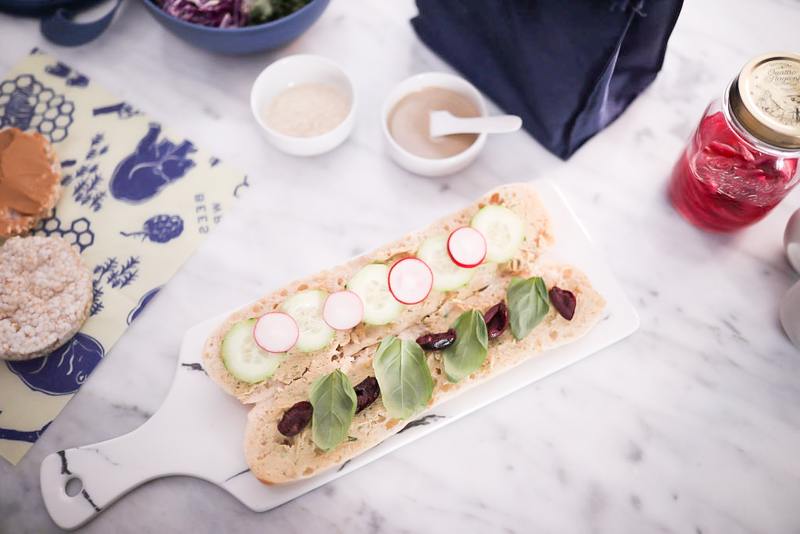
Chickpea Salad Sandwich
The star of this sandwich is the chickpea spread! Denser then hummus it has a wonderfully grainy texture. Extras of this make for a great veggie or cracker dip!
Ingredients:
Chickpea Salad
- 1½ cups cooked chickpeas, drained and rinsed
- 2 tablespoons tahini
- 1 teaspoon Dijon mustard
- ½ garlic clove
- 1 teaspoon capers
- 1 scallion, chopped
- 2 tablespoons chopped cilantro
- 2 tablespoons fresh lemon juice
- sea salt and freshly ground black pepper
For the sandwiches
- 1 soft baguette, sliced in half
- 8 to 10 Kalamata olives, pitted and sliced in half
- Thinly sliced red onion, rinsed and dried
- ¼ English cucumber, thinly sliced
- 1 radish, thinly sliced
- 6 to 8 fresh basil leaves
- Sea salt and freshly ground black pepper
Ingredients:
- Make the chickpea salad: In a food processor, combine the chickpeas, tahini, Dijon mustard, garlic, capers, scallion, cilantro, lemon juice, and pinches of salt and pepper. Pulse until combined, but do not puree. Season to taste.
- Assemble the sandwiches: Spread the chickpea salad on one side of the baguette. Top with the olives and red onion slices. Spread of layer of mayo on the other half of the baguette and top with the sliced cucumbers, radishes, and basil. Season with salt and pepper, to taste. Press together, slice, and enjoy!
Source: Love and Lemons
Peanut Butter and Brown Rice Cake
When all else fails, this is a fool proof satisfying lunch option! We love the brown rice cakes from Trader Joe’s. Add your favorite peanut butter (or any other protein spread) to these and it is the easiest lunch you can possibly put together!
Arugula Salad
I make the whole recipe in the morning and then I split it between lunch for her and lunch for me. I am always amazed that such a simple salad can taste so good! You can always add slivered almonds or pine nuts as a topping too. For Madeline, I usually will pack a yogurt on the side with this!
Ingredients:
- 2 handfuls baby arugula, fresh
- 2 tsp lemon juice, freshly-squeezed
- 1 tsp black pepper, freshly-cracked
- 2 tsp olive oil, good-quality
- Shaved Parmesan
Assembly:
Add it all to a salad bowl, toss, and serve!
Roasted Chickpeas (Gyros)
Not on their own of course but roasted chickpeas make a great substitute for any meat protein! Add them to salads, your grain bowl, steamed kale or spinach (with a splash of lemon!), and we recently found this recipe for adding them to a gyros!
Ingredients:
- 1 15 oz can chickpeas, drained and rinsed
- One tablespoon olive oil
- 1 tablespoon paprika
- 1 teaspoon ground black pepper
- One-half teaspoon cayenne pepper
- 1/4 teaspoon salt
- 4 pita flatbreads
- 1 cup tzatziki
- 1/4 red onion cut into strips
- 2 lettuce leaves roughly chopped
- 1 tomato sliced
Instructions:
-
Preheat oven to 400 degrees F. Pat dry chickpeas with paper towel, removing any skins that may come off. Gently toss chickpeas with oil, paprika, black pepper, cayenne pepper, and salt.
-
Spread chickpeas onto a greased rimmed baking sheet and roast for about 20 minutes, until lightly browned but not hard.
-
Spread some tzatziki onto one side of the pita, then sprinkle in ¼ of the chickpeas and add veggies. Fold in half and enjoy!
Beet Salad with Feta, Cucumbers and Dill
Madeline loves beets! And they are so simple to roast! Wrap them in aluminum foil with salt, pepper and a little olive oil; place on a baking sheet and roast in a pre-heated 400° oven for 1 hour. This salad is packed with flavor and so satisfying!
Ingredients:
- 1 tablespoon lemon juice
- 1/2 teaspoon kosher salt
- 3 tablespoons extra-virgin olive oil
- 2 cups roasted beets (about 2 large beets)
- 1 medium cucumber seeded, halved, and thinly sliced
- 4 oz. feta cheese crumbled
- 1/4 cup fresh dill roughly chopped
Instructions:
-
To make the dressing: In a small bowl or measuring cup, whisk the lemon juice and kosher salt together until the salt is dissolved. Drizzle the extra-virgin olive oil gradually, whisking as you go, in order to incorporate all the ingredients completely.
-
Place the sliced beets in a large bowl. Add half the dressing to the bowl and mix together. Let sit while you prep the remaining ingredients.
-
Just before serving, add the cucumber, feta cheese, fresh dill and remaining dressing to the bowl and toss together.
Packing Up Madeline’s Vegetarian Lunches
With packing up lunches five days a week, we have a few favorite go-to items that make it easy and sustainable!
Porter Storage Bowl: For salad, pasta and grain bowls, this lightweight lunch bowl is perfect for taking a meal on the go. It is designed with a durable, BPA-free plastic bowl and lid with a snap-tight silicone strap for a secure seal. Comes in other colors!
Salad Dressing Containers: The perfect size for transporting dressing, these little glass cuties are designed with a matte silicone lid for a secure, leakproof seal.
Stasher Bags: Instead of plastic lunch or snack bags, stasher bags are a great sustainable alternative for everyday use! Made from food-grade silicone that is free of petroleum, PVC, and latex, its versatile construction is even dishwasher and microwave safe.
Bamboo Utensil: We stopped using plastic forks awhile back and I was sending her with my everyday silverware at the beginning of the year until I discovered this little clever fork and spoon combo utensil!
Lunch Bag: She just has a simple nylon fold down bag that I can easily wipe down or throw in the wash. To keep things cool I add small freezer packs.
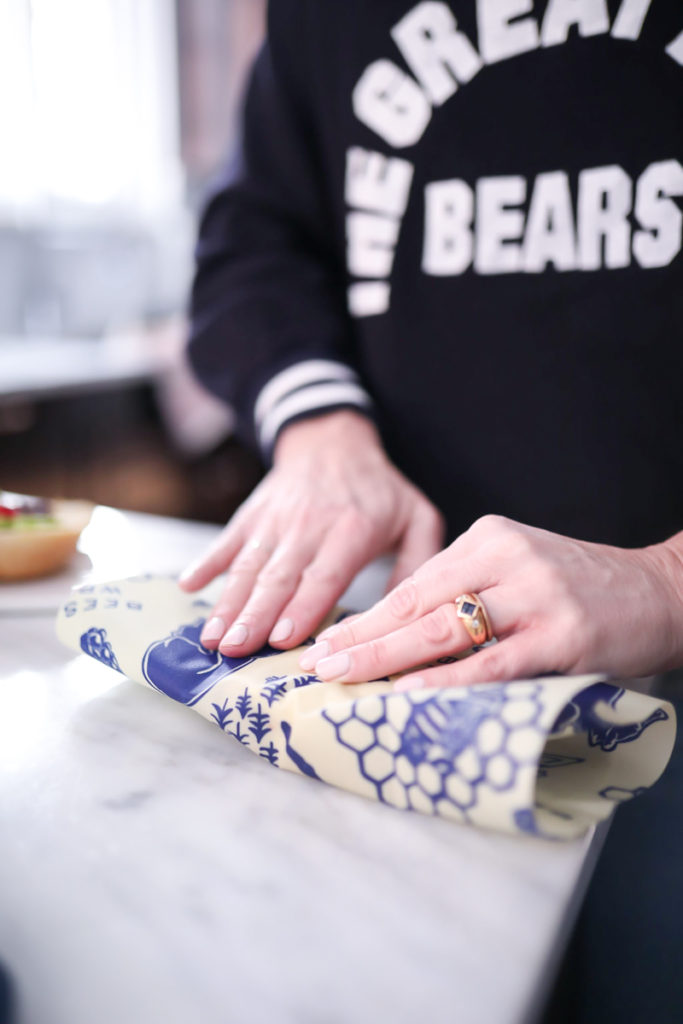
Bee’s Wrap: The latest sustainable resource to find its way into our kitchen! I love these! They effectively wrap and seal up sandwiches but the larger size (they come in a 3 pack!) is great to use for covering up a bowl!
You can also follow me on Facebook, Instagram and Pinterest
Thanks for stopping by!
L, M
